


Map the darkest section of the route before buying anything. A 4 km school ride with 600 m along an unlit canal path needs a controlled road beam, while the same distance under continuous street lighting can use a modest legal marker set.
Let the darkest part of your commute decide what to buy
Choose for the worst visibility and highest speed on the route, then use a lower setting where street lighting takes over.
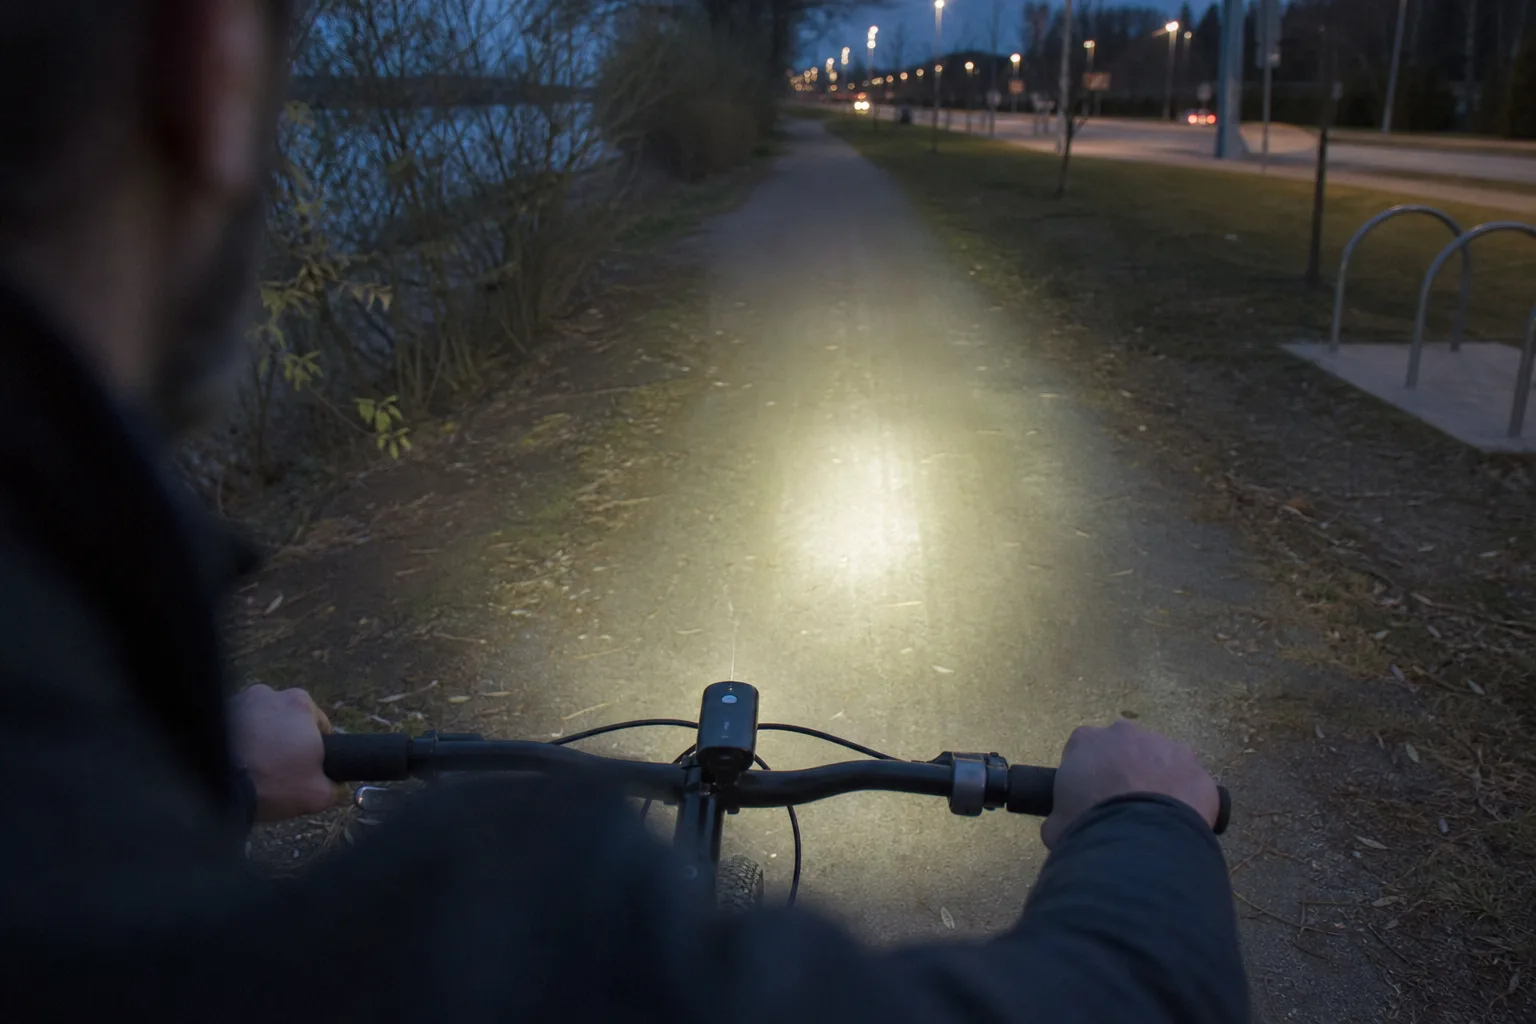
- Street-lit commuting and school runs: choose reliable front and rear visibility, side visibility, simple controls and enough charge for repeated short journeys.
- Mixed routes: use a rechargeable front light with a controlled beam that reaches across the darkest path, park or rural lane.
- Fast unlit riding: seek a wider, longer-reaching beam with sustained output. High-output trail lights also need a dipped traffic mode or a separate road light.
- Cargo bikes and child-carrying bikes: fixed or hard-to-forget lighting helps, but check that seats, coats, bags and cargo do not block the rear lamp.
- Daily, year-round riding: a hub dynamo or compatible e-bike-powered system removes the charging routine.
- Occasional riding on lit roads: a compact legal marker set can be enough. If your present lights meet local rules, hold charge and stay aimed, keep them. You do not need a brighter replacement.
Check your national rules before shopping
Europe has no single bicycle-light law, so verify the required lamps, reflectors, mounting, modes and approval marks in the national road code or with the national transport authority.
- Germany requires approved equipment and steady white front and red rear lights. Rechargeable, battery and dynamo systems are permitted, which makes the old universal dynamo claim outdated.
- Great Britain permits qualifying steady or flashing lamps, with detailed standards for flash rate and intensity. Required rear and pedal reflectors remain part of the setup.
- France requires a non-dazzling white or yellow front light and a non-flashing red rear light in darkness or poor visibility, along with specified reflectors. Further visibility equipment applies outside built-up areas.
- Denmark permits flashing within defined rules, including a minimum flash rate. It also sets visibility and operating requirements.
- Austria specifies bicycle mounting and minimum light intensity, with separate performance wording for dynamo-powered equipment.
Approval language is market-specific. A German approval mark proves compliance with the German regime. A description such as “StVZO-style beam” can explain the optics elsewhere, but it does not grant local legal approval.
Judge beam shape, road reach and sustained output before headline lumens
A useful commuter front light spreads enough light across the road, reaches hazards at riding speed and keeps its strongest output below other road users’ eyes.
Lumens measure total emitted light. Candela measures intensity in a direction. Lux measures light reaching a square metre at a stated point, so a lux claim needs a distance and beam map. Equal lumen figures can produce a broad road beam, a narrow hotspot or a flood that wastes light above the horizon.
- About 20 to 200 lm: common for front markers on illuminated streets. Do not expect reliable pothole detection.
- About 30 to 50 lx in controlled-beam lights, or roughly 200 to 600 lm in lumen-rated products: a practical urban illumination range. The units do not convert directly.
- About 70 to 100 lx or more with a wide cut-off beam, or often 600 to 1,300 lm depending on the optics: suited to regular unlit-road sections.
- About 1,000 to 3,000 lm or more: common for fast unlit roads, gravel and trails. Broad round beams require traffic-friendly control around other people.
A cut-off creates a defined upper boundary and places more useful light farther along the road. Look for a broad beam that shows the kerb, an even foreground without a glaring patch beside the wheel, and little stray light above the boundary. Low output alone does not prevent dazzle. Independent testing has found 30-lux lights with more troublesome stray light than some 100-lux products.
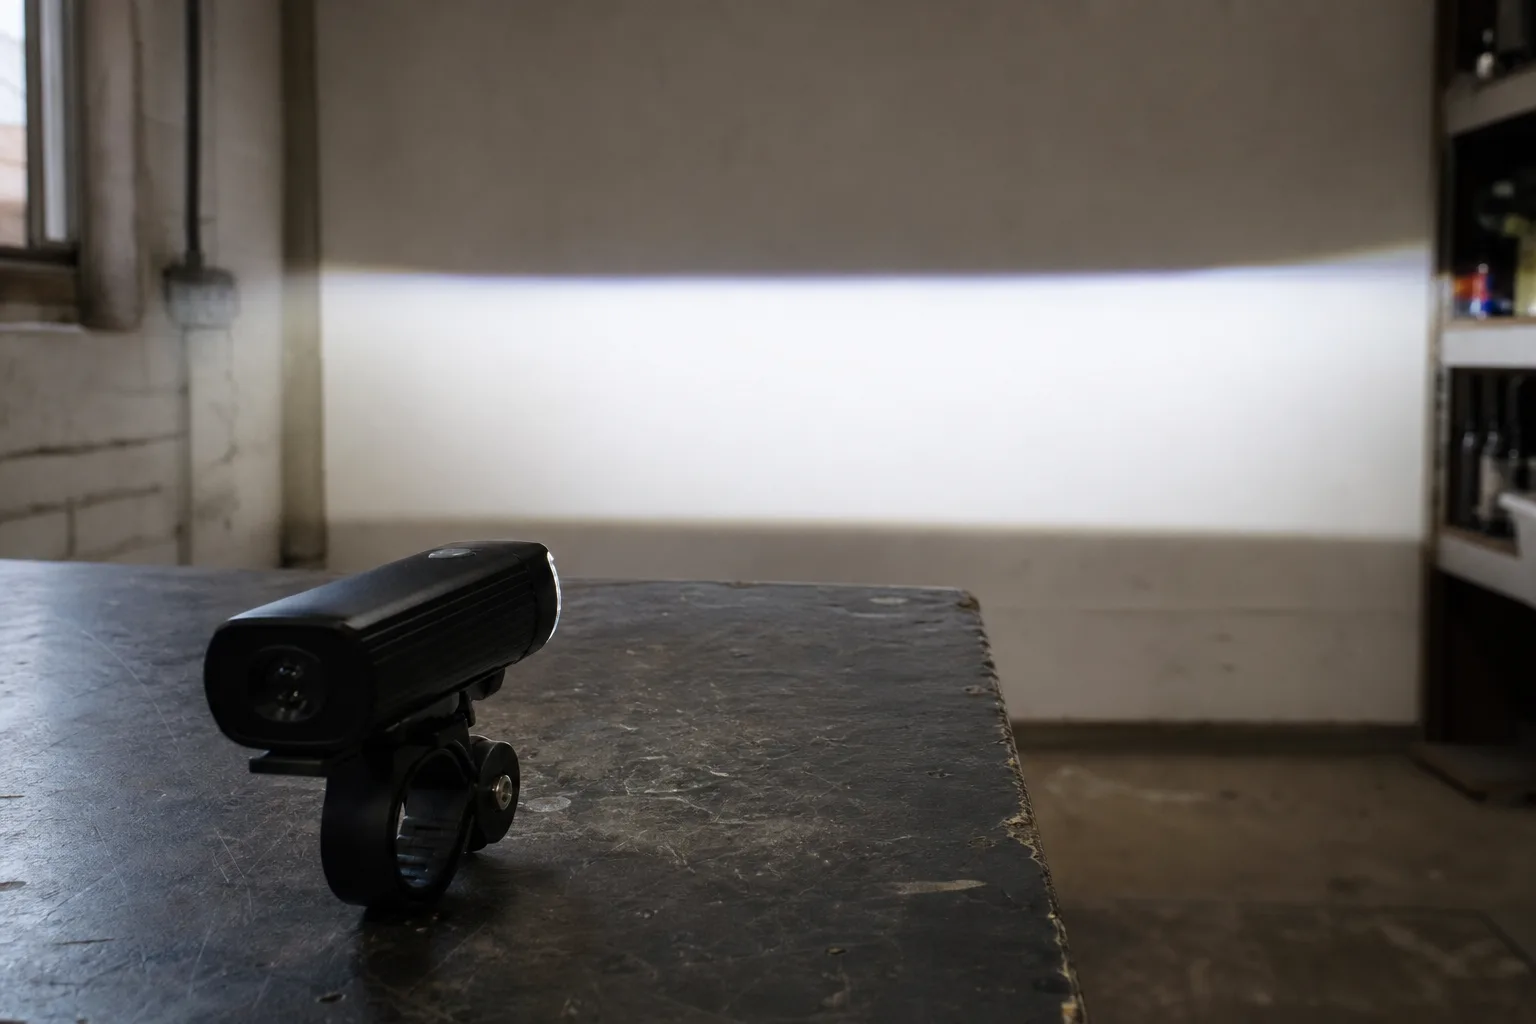
Ask for fixed-exposure beam photographs, lux maps or independent burn-down tests. Maximum output can be brief because heat control reduces brightness. To set the aim, place the bicycle 5 m from a wall on level ground, mark headlight height and put a strong cut-off just below that mark. Check the view from an oncoming person’s eye level.
Buy enough real runtime for winter
Choose a stated steady-mode runtime equal to 1.5 to 2 times the longest planned interval between charges.
For a 45-minute journey each way and charging every two days, the lamp must cover 3 hours of riding. Shop for 4.5 to 6 hours in the setting that handles the dark section. This reserve covers cold weather, battery ageing, missed charging and optimistic claims.
- Compare runtime at each steady output. One current 400-lm light quotes about 2 hours at 400 lm, 4 hours at 200 lm and 8 hours at 100 lm, while its flashing claim reaches 60 hours.
- Check whether output stays regulated, fades gradually or steps down because of heat. Some runtime standards stop the clock only when output reaches 10% of its initial level.
- Read the low-battery behaviour. A dim reserve mode is little help if the final kilometre is unlit.
- Compare battery energy in watt-hours where available. Milliamp-hours cannot be compared fairly without battery voltage.
- Check recharge time and battery servicing or replacement. Daily charging gradually reduces capacity.
Charge a winter light only after it has warmed and dried
Cold lithium-ion batteries deliver less useful performance, and charging limits are stricter than operating limits.
After a wet, freezing ride, bring the light indoors and let condensation clear before charging. Dry the port, cap and surrounding area. Follow the model’s temperature limits, which can be narrower than general lithium-ion guidance. On long rides, save the brighter setting for unlit sections and carry a charged backup.
Choose a complete setup that stays aimed
A good beam becomes unsafe or useless when its bracket slips on cobblestones, and a powerful rear light fails when a coat or pannier hides it.
- Confirm the handlebar diameter. Common round sizes include 22.2, 25.4, 31.8 and 35 mm. Aero bars and integrated cockpits need dedicated compatibility.
- Prefer a rigid or strongly indexed front bracket, a rubber friction shim and a positive lock between lamp and mount.
- Try to twist the fitted light firmly by hand. The angle should not move under finger pressure.
- Check clearance around brake hoses, cables, bells, computers and phone mounts.
- Fit the red rear lamp close to vertical with useful side visibility. Check it while the rider is seated and the bike is fully loaded.
- Keep every reflector required by national rules. Pedal and ankle reflectors also provide recognisable cycling motion when illuminated.
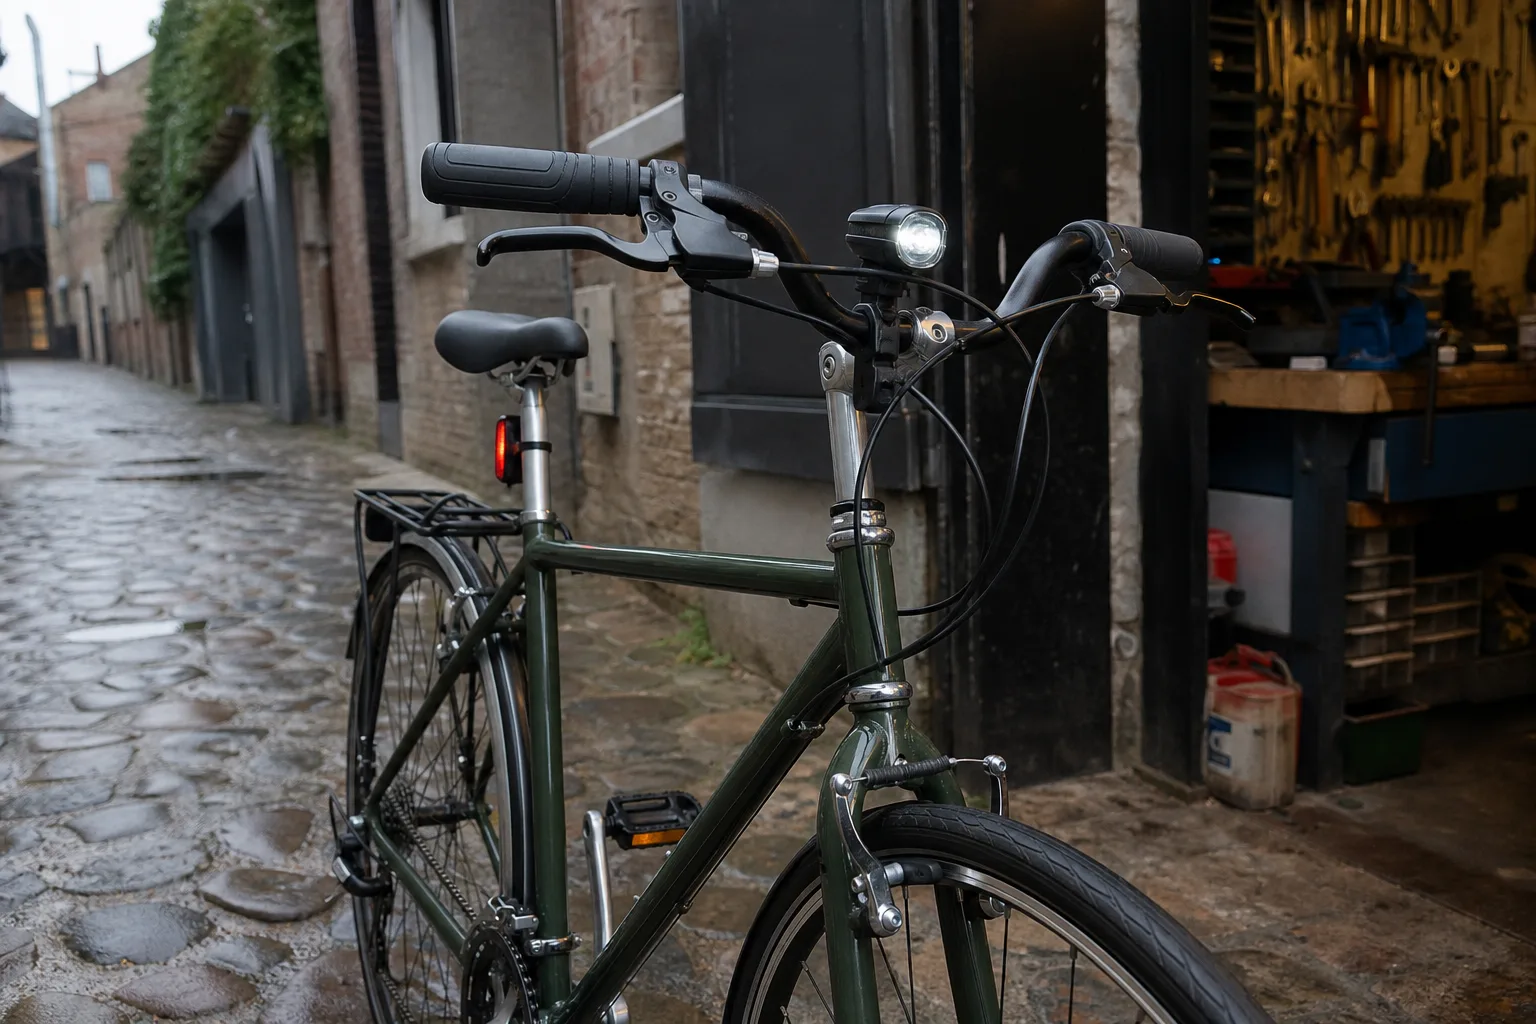
A wide rear emitting surface is easier to locate at close range than a tiny intense point. Use a lower night or group setting behind other riders. Reflectors still work after a battery failure, but they depend on another light source and cannot replace an active lamp where one is required.
Compare the practical options by route
For most mixed urban routes, a rechargeable controlled-beam front light paired with a legal rear lamp offers the strongest balance of road illumination, convenience and removable security.
| Type | Best suited to | What it buys | Main check |
|---|---|---|---|
| Marker set | Short journeys under continuous street lighting | Low cost, compact size and easy removal | Too weak for dependable hazard detection on unlit paths |
| Controlled-beam rechargeable | Mixed urban routes and regular commuting | Dipped road illumination, several steady modes and practical portability | Useful runtime at the required setting |
| Hub dynamo system | High-mileage, utility and touring bikes | Permanent lighting with no charging routine | Wheel installation, wiring and local performance rules |
| E-bike-powered lights | Compatible e-bikes used for commuting | Permanent lighting powered by the traction battery | Voltage, connector, firmware and legal approval |
| High-output road or trail system | Fast unlit roads, gravel and trails | Longer reach, wider coverage and larger batteries | A legal dipped mode or separate traffic light |
As a rough 2026 rule, budget about twice the basic marker-set price for a capable everyday controlled-beam setup. The extra money buys useful road reach, a larger battery, better regulation and a stiffer mount. Premium spending then goes toward more sustained output, larger batteries, remote controls, radar, cameras or specialist power connections.
Compare commuter bike lights
Live prices from more than 20 shops, updated daily.
Avoid the panic-buy traps
The common failures are predictable, so check them before the first dark ride.
- Buying the largest lumen figure, then discovering the circular beam dazzles traffic and must be run too low to illuminate the road.
- Reading the longest flashing or eco runtime as the useful commuting runtime.
- Mounting a cut-off lamp in an unsupported upside-down position, which can send the bright portion upward.
- Using a loose rubber strap on a heavy front light without checking its aim after rough streets.
- Hiding the rear light behind a child seat, saddlebag, long coat or loaded pannier.
- Assuming a helmet light, flashing mode or foreign approval mark satisfies local law.
- Waiting for late-November sale periods without already owning a safe setup. Buy in late August or early September, then test the real route before darkness becomes routine.
Bike-light FAQ
Is flashing safer than a steady light?
Research does not support one universal winner. Detection and distance judgement vary with the setting. Follow national rules, use continuous front illumination when you need to see hazards, and choose a non-dazzling rear pattern for night riding where permitted.
Does USB-C mean fast charging?
No. USB-C identifies the connector. Check input wattage, quoted charging time and compatibility with your charger or power bank. Some current USB-C lights still take about four hours and omit the cable.
Can I mount a cut-off front light upside down?
Only when the manufacturer explicitly supports that orientation. Cut-off optics are directional, so turning an unsupported light over can invert the beam and direct its bright section into oncoming eyes.
Can a head torch replace a bicycle front light?
Do not assume it can. It follows your gaze and can dazzle anyone you look at directly. It can also fail rules requiring the lamp to be fixed to the bicycle. Treat it as supplementary equipment where permitted.
What weather rating should a commuter light have?
IPX4 is a sensible baseline for ordinary rain commuting. IPX7 adds temporary immersion protection. The rating assumes covers are closed and does not permit pressure washing, charging through a wet port or leaving the cap open.
The pre-September verdict
Check the national rules first, then buy for the route’s darkest section. Most mixed-route riders should choose a controlled-beam rechargeable front light with 1.5 to 2 times their planned charging interval, a legal unobstructed rear light, secure mounts and every required reflector. Aim the beam against a wall, ride the roughest part of the route and check the angle again before relying on it.
This article was created using AI, following our team's editorial standards.


